Steve's Model Railway Site
My HO Layout ... the Step by Step Build
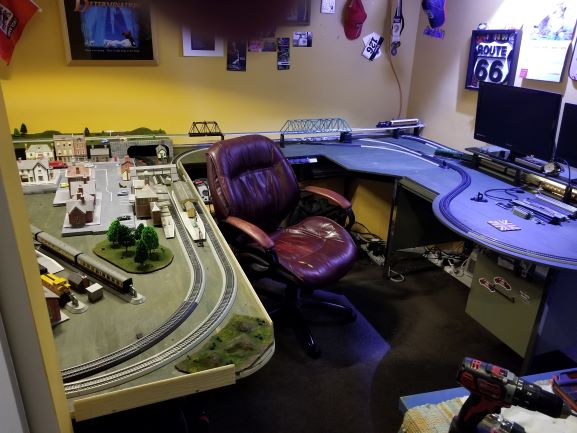
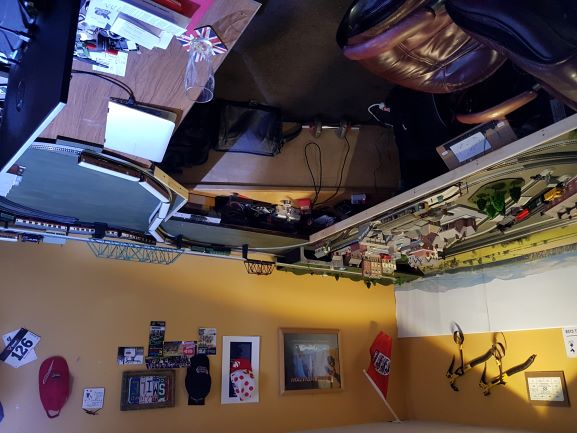
This a picture sequence (in reverse) of my layout build so far ... its a work in progress so its not finished yet! You can see how I tested various layouts before finalising on the perfect design before I started any scenery. My aim was to have a layout that could run several trains at the same time.Jump to the First Step of the layout build
Hover over a pic to make it zoom!
37
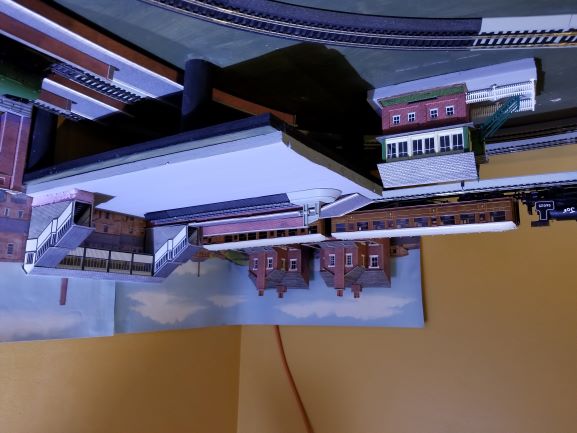
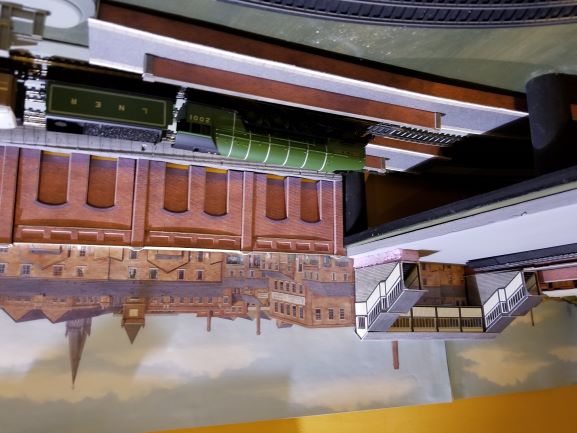
Second station is on 2 levels connecting the Main Line with the Overhead Line.

36
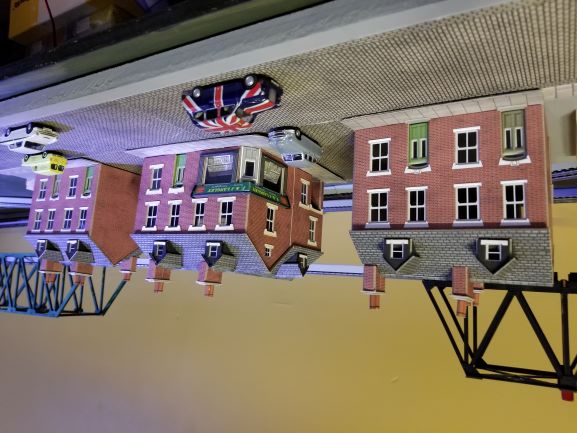
Added a Coronation Street scene (from the Brit TV series) using Metcalfe buildings.
35
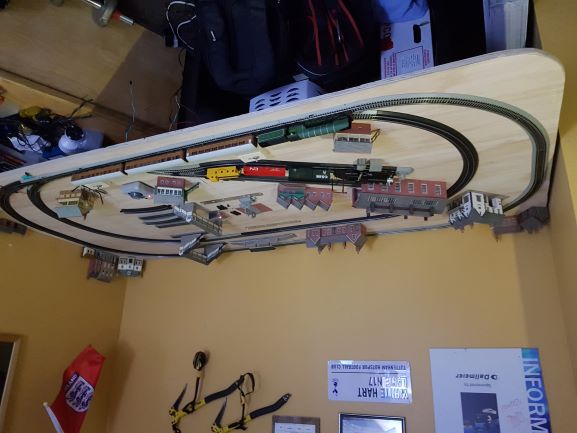
Still need to add ballast everywhere and a 2nd station, something needs to go inside that new track loop, maybe a Cricket Pitch!
34
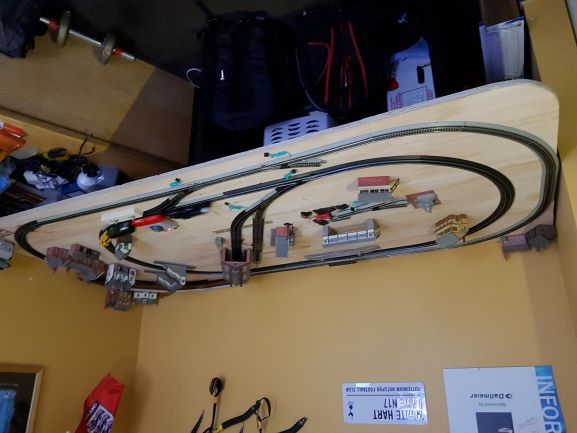
For my sidings I needed 3 tracks inside my tunnel. To create the long siding I used a Bachmann #6 Remote Cross-over turnout right as this provides the tightest angle into a siding that the biggest engines can use. This enabled me to have 3 tracks inside my tunnel, the main line and 2 sidings.
33
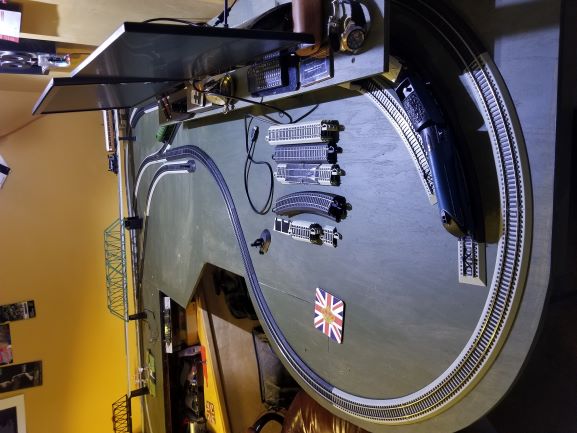
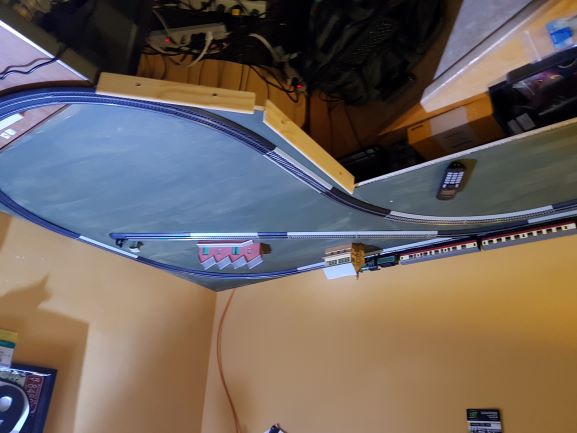
The new 36" loop connects to the first extension.
32
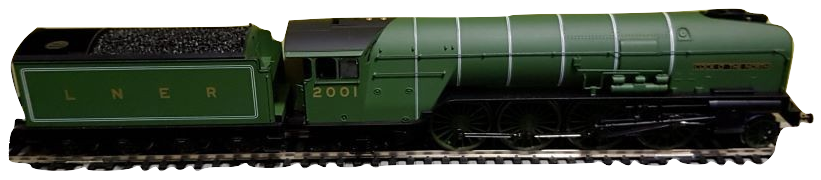
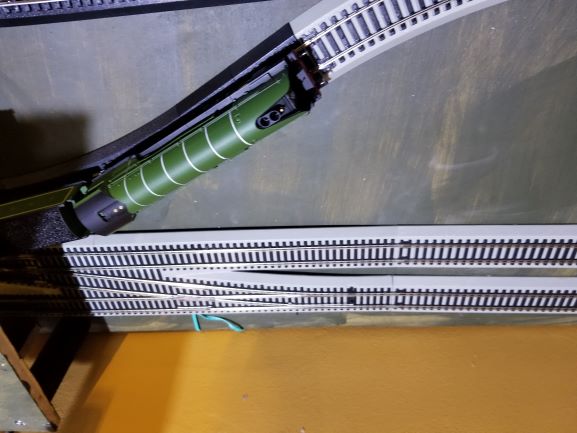
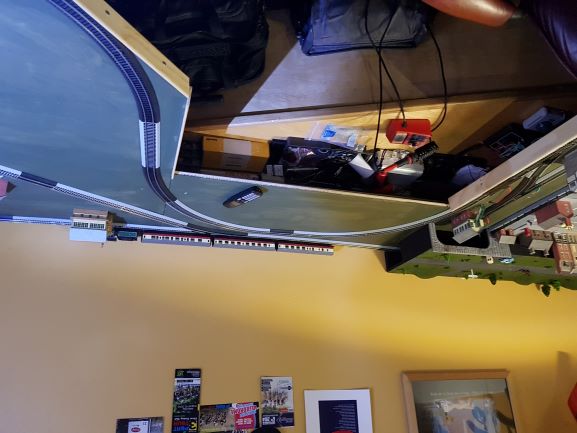
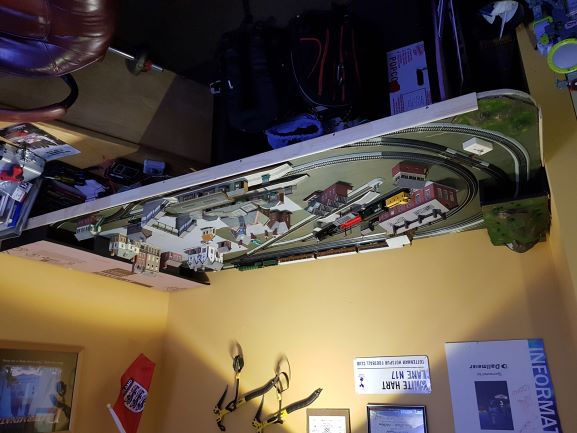
Added an extension to the extension! A 36 inch loop which extends the back straight too. I've added another 3 foot loop and used the long straight to form 2 long sidings where I can park my Mallard and Cock'o'the North trains. I've formed a tunnel which is lit by LED's and my office stuff and monitors sit on top of this tunnel.
31
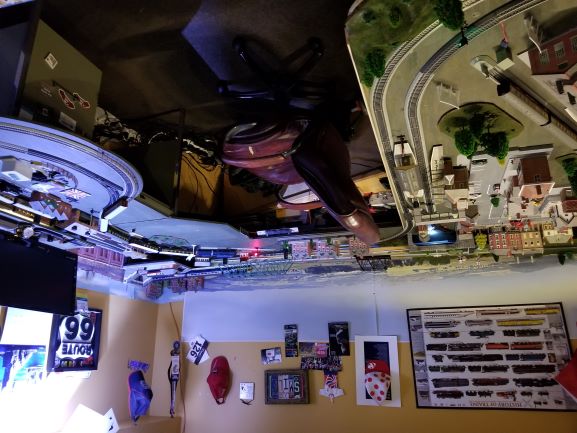
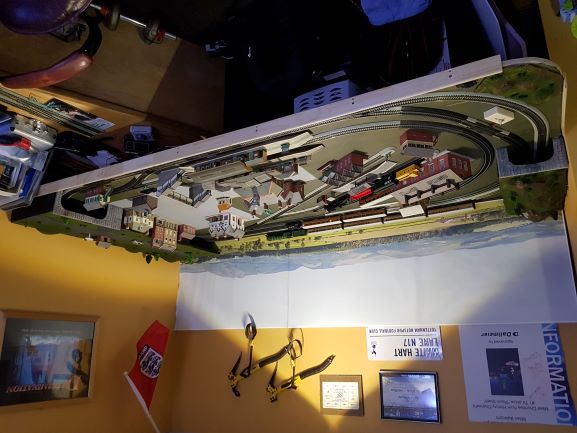
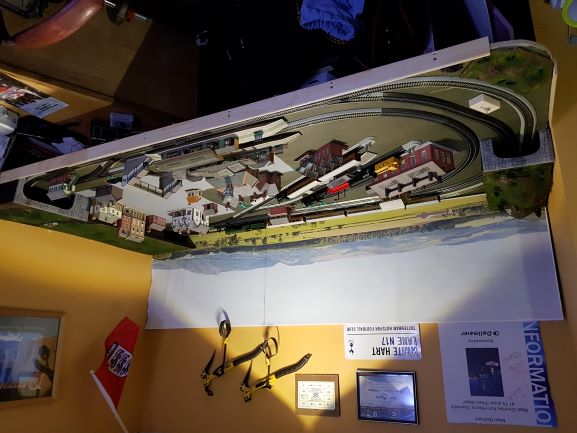
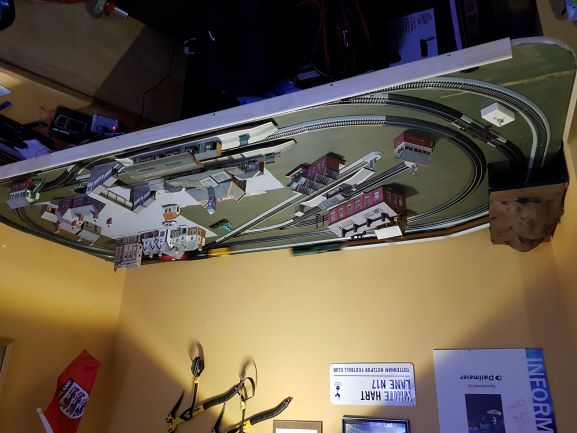
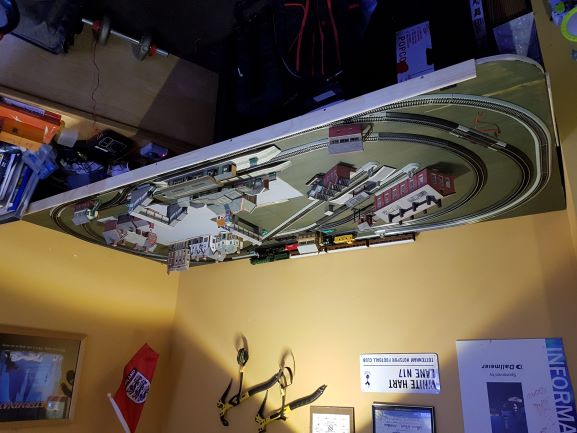
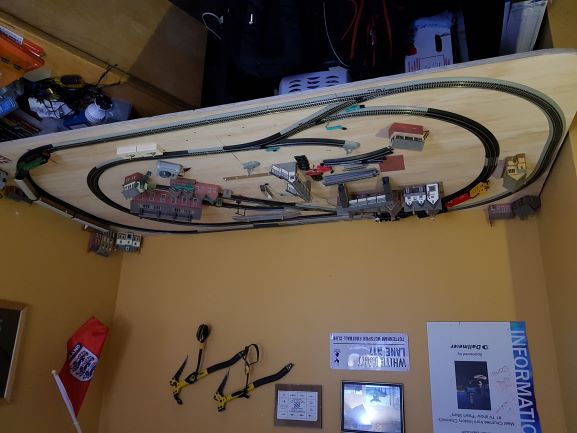
Overall view of the whole layout ... still need to add ballast everywhere!
30
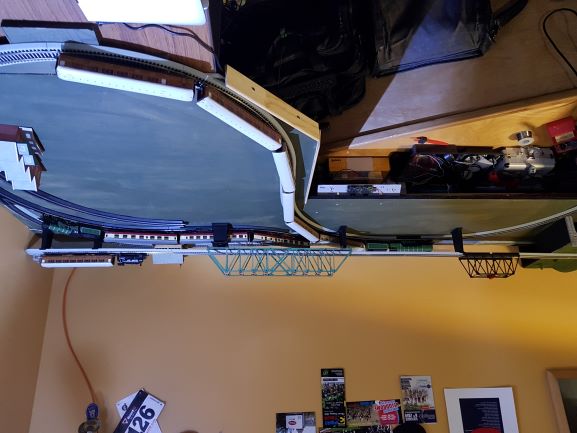
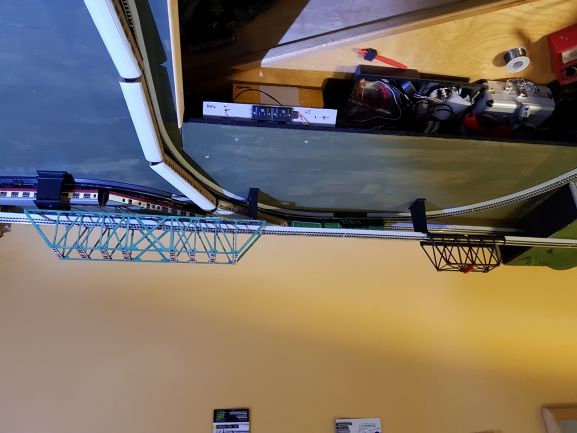
Added proper Girder Bridges to the Overhead Railway line.
29
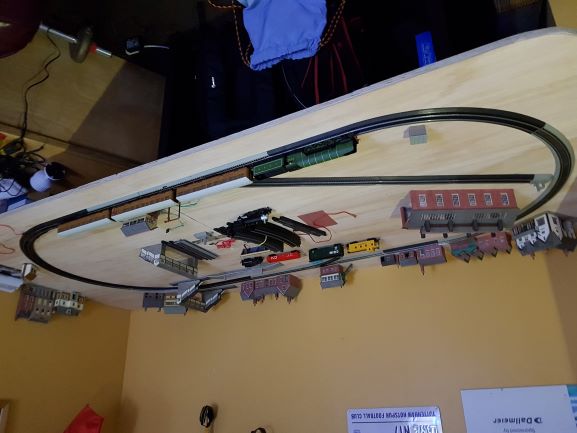
I made the spur into a proper siding so trains don't have to reverse. They can now drive in and out. Also started a new Overhead line using Ez-track supports.
28
This is the 3x1 that links the new 4x4 to the old 8x4.
27
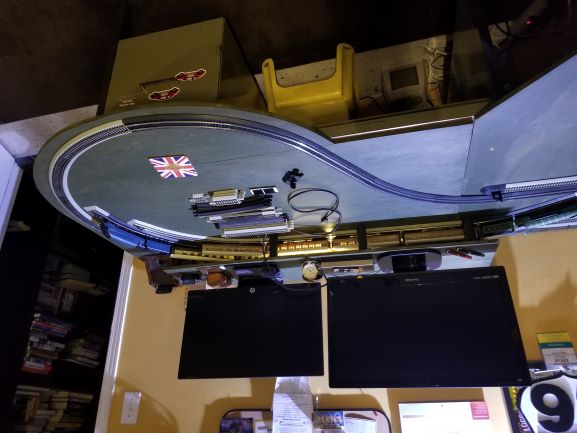
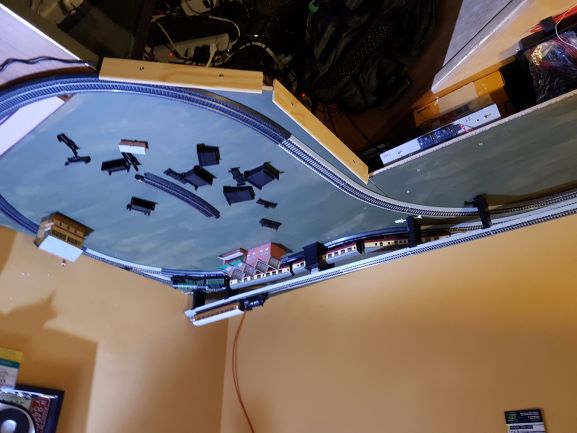
I wanted to extend the outer track so the 8x4 layout has been extended by adding a 4x4 linked by a 3x1. Plan is to have another loop with a new siding. The curves are all grade 2 so will need a small straight in the middle to allow the big 2-8-2 engine to run smoothly.
26
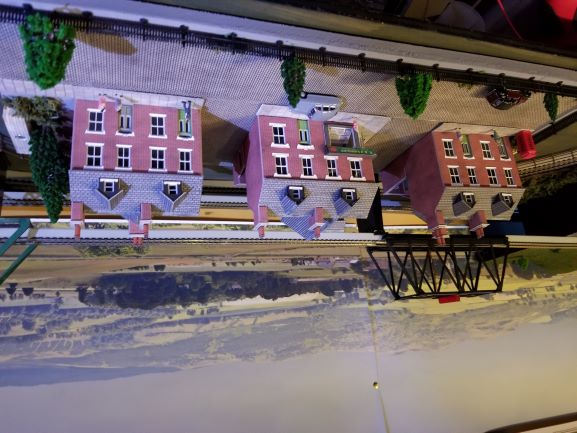
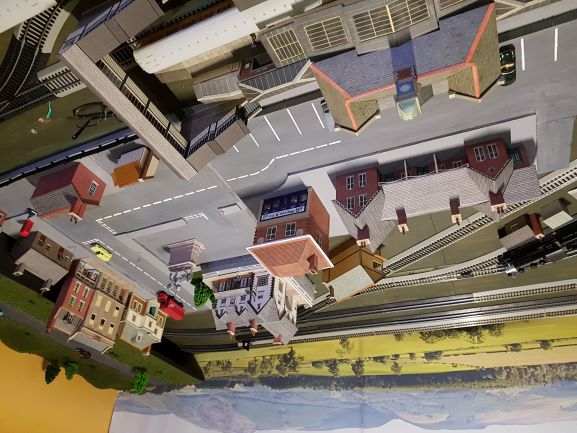
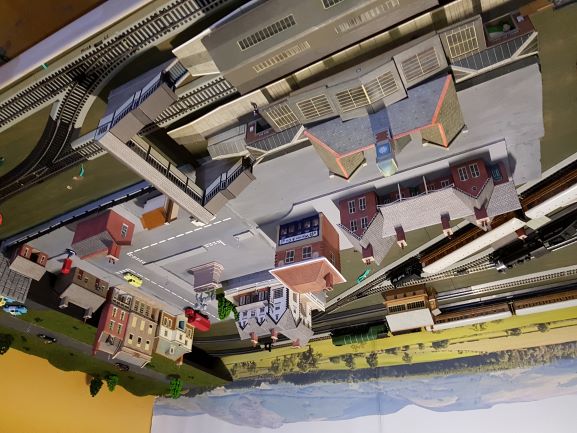
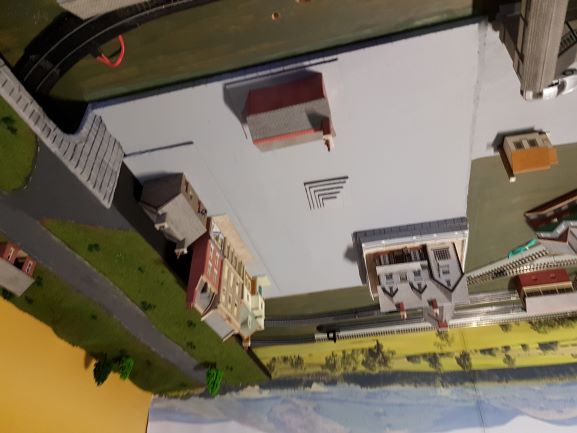
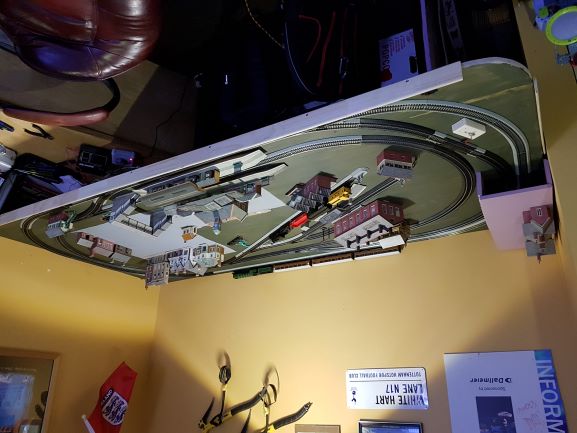
Nice view of the town.

25
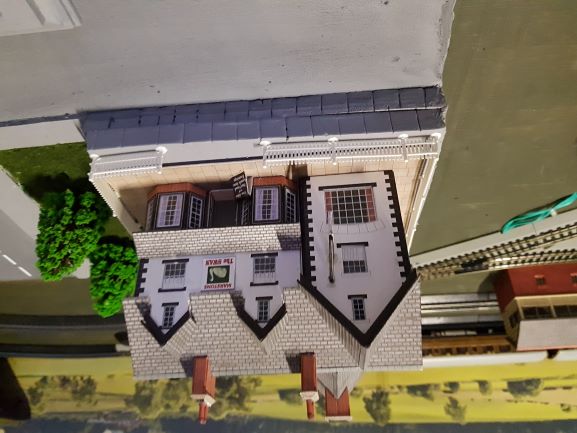
The Swan Inn. Every English town has a pub at its centre.
24
More road markings and added statue in town centre.
23
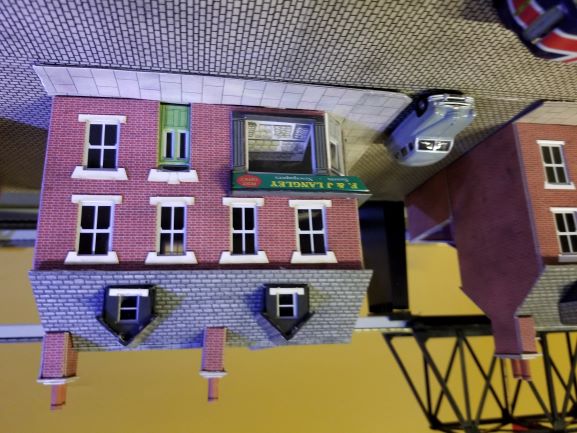
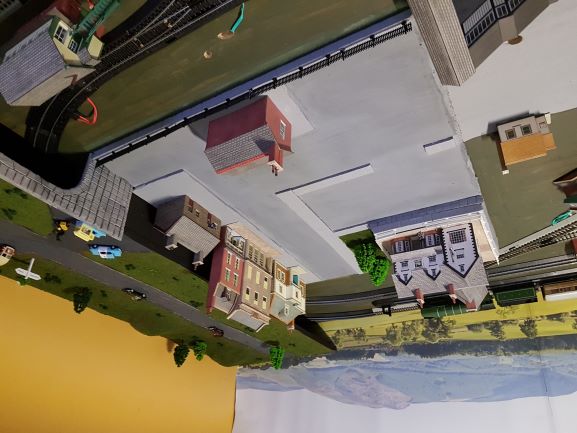
Town extended towards the Railway Station. Added the Estate Agents building.
22
White lines added to the town roads. I use tape to mask off the white areas and then paint over the tape. Takes a while to tape but works really well. I always remove the tape quickly before the white paint drys.

21
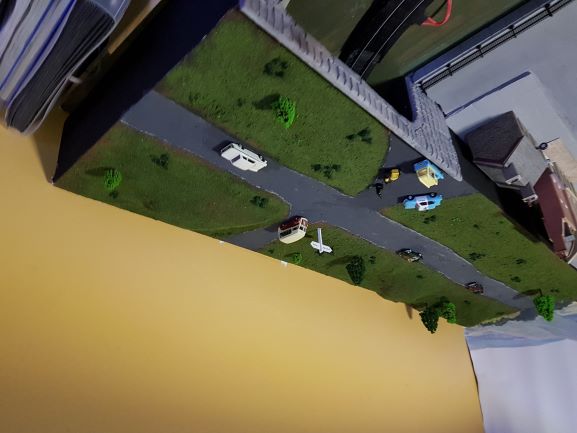
Cars and weathered road on 2nd Tunnel.
20
Pavement added to the town.
19
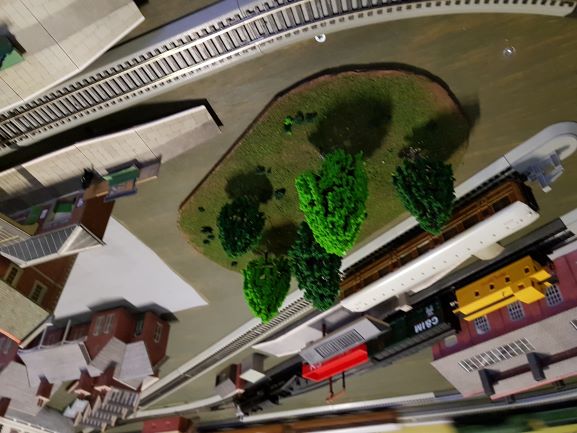
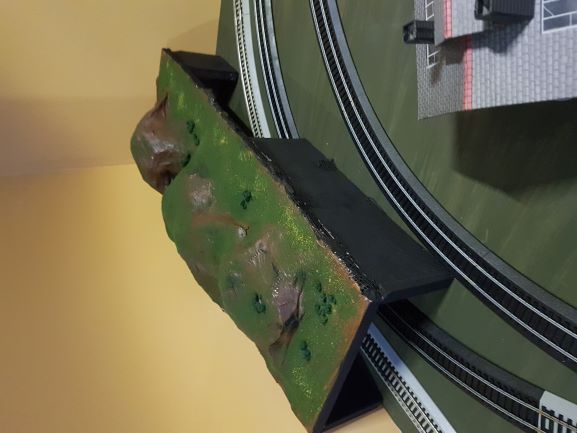
A small tree covered knoll. Used a fibreboard base with a covering of lightweight spackle over crunched newspaper for lumps. Painted a base coat of Burnt Umber then covered with Coarse Grass, bushes and a mixture of trees.
18
For the tunnel portals I used custom cut to shape 5mm plywood bases covered in lightweight spackling and then painted. Using a coating of spackle I cut out the stone blocks using a kitchen knive before the spackling set. To paint I used a base coat of Grey and then used a weathering mix of water/grey/white and water/black to finish.
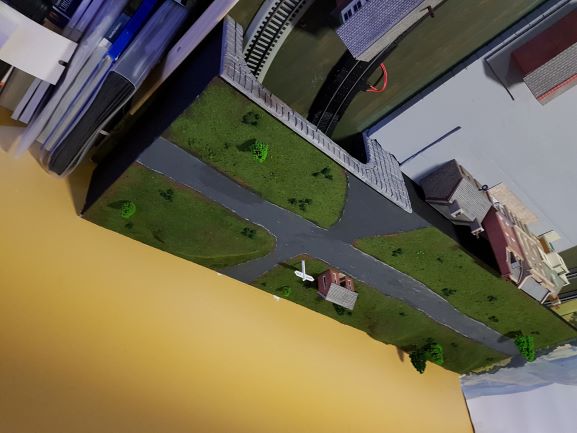
17
Started on the town scenery. Used a 15mm base painted grey.
16
Added trees to the tunnels.
15
Added a background picture of the North Yorkshire Moors.
14
Second Tunnel has grass and bushes with a straight road.

13
Started the second tunnel.
12
Tunnel has been covered with Coarse Grass with small patches of Yellow flowers. Also added clumps of small bushes and some grey crags on the steepest hill sides.
11
Tunnel has plaster of paris coated newspaper crunches and a Burnt Umber base coat.
10
Started on the first tunnel. Cut sections out of home insulation panels to make the basic stucture.
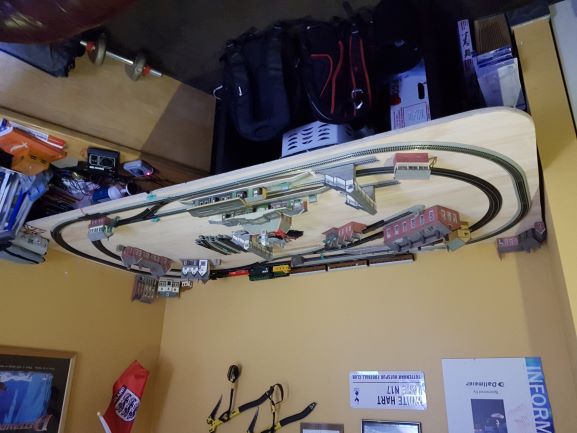
9
Painted the base board green and replaced all the track and building it is starting to look like a layout now.
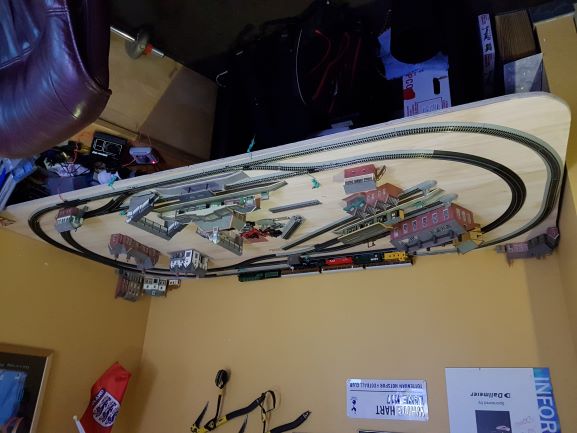
8
So now I have added a siding on its own block for the 2-8-2 on the outer loop. On this layout I can run 3 trains and this will be my layout going forward. Time to paint the base board green. I will grass over or use ballast everywhere but having a green base is good.
7
This layout gives me the 2 links between tracks. But I discovered my 2-8-2 engine derails on the switch-over points and there is not enough room for my Station Platforms.
6
Realised if the station went at the front because of the platform length I could only use a single link between loops.
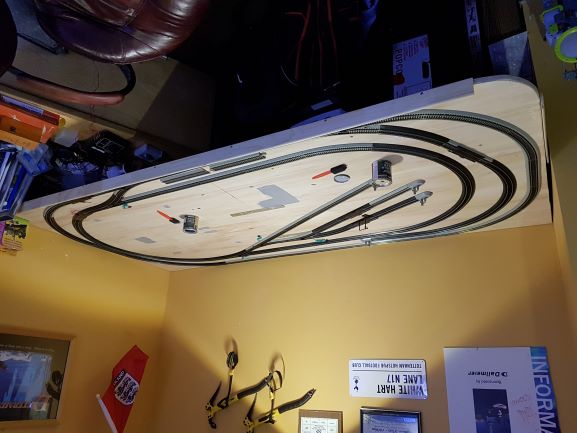
5
Less curves and can run 2 trains. I wanted 2 links between the loops so trains did not have to reverse to change loops.
4
This layout can run 2 trains but the curves on the inner loop caused de-railments.
2
Basic layout first attempt using track from a simple Oval and an Extender Pack.
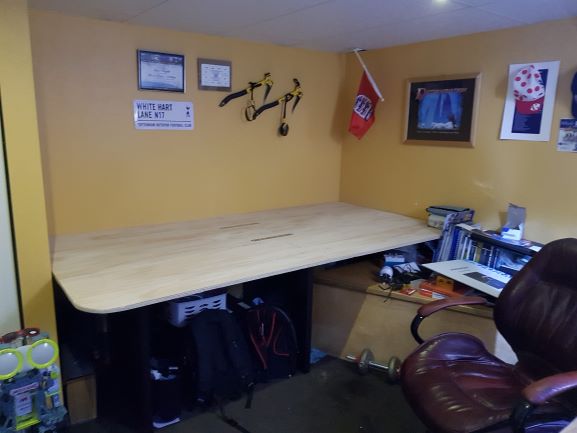
1
This is the bare 8' by 4' plywood board at the start.